| *…*… times |
| Repeat the instructions, for example:
“*ch 1, 2 sc* 5 times”
would mean
“ch 1 followed by 2 sc, repeated five times” |
| **… **… times |
| Short repeats within a longer ones, for example:
“*ch 1, **1 sc** 2 times* 5 times”
would mean
“ch 1 and a repeat of 2 sc; all repeated 5 times” |
| «…» in… |
| Stitches to be crocheted in the same stitch, for example:
“«3 dc, ch 3, 3 dc» in the next stitch” |
| (counts as…) |
| Replacement for first stitch on a round, for example:
“ch 3 (counts as 1 dc)”
would mean
“ch 3 used instead of 1 dc as the initial stitch” |
| (Total…) |
| Sums up number of used stitches, for example:
“ch 1 (counts as 1 sc), ch 2. (Total 2 ch, 1 sc)”
would mean
“used as 2 ch + 1 sc, in total” |
| st |
Stitch |
| lp |
Loop |
| ch sp |
Chain space |
| BLO |
 |
Back loop only |
| FLO |
 |
Front loop only |
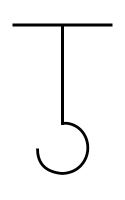
| sl st |
 |
Slip stitch |
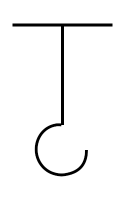
| ch |
 |
Chain |
| sc |
 |
Single crochet |
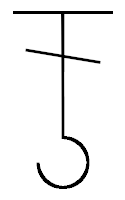
| hdc |
 |
Half double crochet |
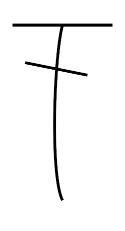
| lhdc |
 |
Long half double crochet |
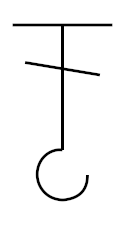
| dc |
 |
Double crochet |
| ldc |
 |
Long double crochet |
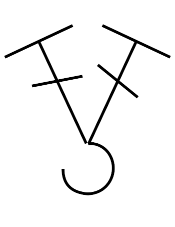
| dc3tog |
 |
Double crochet 3 together |
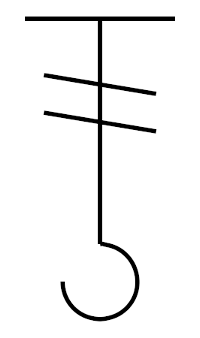
| tr |
 |
Treble crochet |
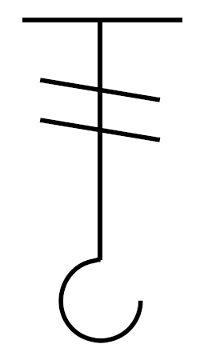
| dtr |
 |
Double treble crochet |
| FPsc |
 |
Front post single crochet |
| BPsc |
 |
Back post single crochet |
| FPhdc |
 |
Front post halfdouble crochet |
| FPdc |
 |
Front post double crochet |
| BPhdc |
 |
Back post half double crochet |
| BPdc |
 |
Back post double crochet |
| FPtr |
 |
Front post treble crochet |
| BPtr |
 |
Back post treble crochet |
| 2FPdc |
 |
2 front post double crochet around same stitch |
| 3FPdc |
 |
3 front post double crochet around same stitch |
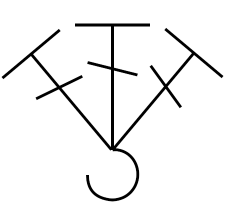
| FPdc3tog |
 |
Front post double crochet 3 together |
| Pic |
 |
Picot made with ch 3, 1 sl st in first ch |
| ch4pic |
 |
Picot made with ch 4, 1 sl st in first ch |